Seeking is a Job Search Manager, which allows you to record, track, and view your job search journey. However, this topic was mostly a way to justify my main objective: to learn more in-depth about FastAPI and Next.js.
FastAPI / Next.js 14+ / Material UI / react-hook-form / zod / openapi / ..
Summary
1) Seeking’s UI/UX Design
The application is divided into three separate pages: home, dashboard, and report1. Let’s detail each of them in a dedicated section after having discussed a little about the graphic identity.
1.1) Graphic Identity
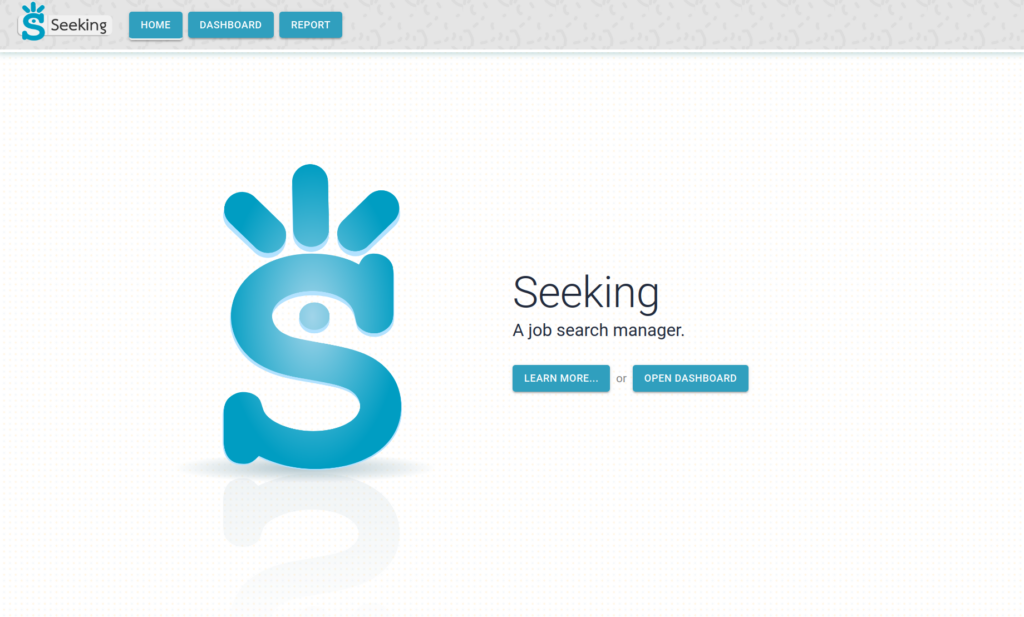
The name « Seeking » came first, and naturally the « S » served as the main base of the logo, adding a dot and 3 lines to evoke the sight. The turquoise color was chosen to add a certain sense of security.
Note that the version you see on the left has shadows and reflections because it is displayed in large on the landing page and it has to be more impressive.
For the version of the logo with the title, a typography recalling an ancient civilization (maybe the Vikings or the Phoenicians?) has been selected.
Job search is like navigating in the ocean.
1.2) Home Page
The home/landing page is scrollable vertically and is split into 4 sections: cover, features, register, and history.
This page – but also any page of the app – is topped by a navigation bar where different pages can be accessed (a light border highlights the current one) and action specific can be done (search available on dashboard).
1.2.a) Cover
This is the default section visible when the page loads (see above). It contains a large logo, a title, and a short description in addition to two buttons. The first button allows you to learn more (scroll smoothly to the next section), and the second navigate to the dashboard.
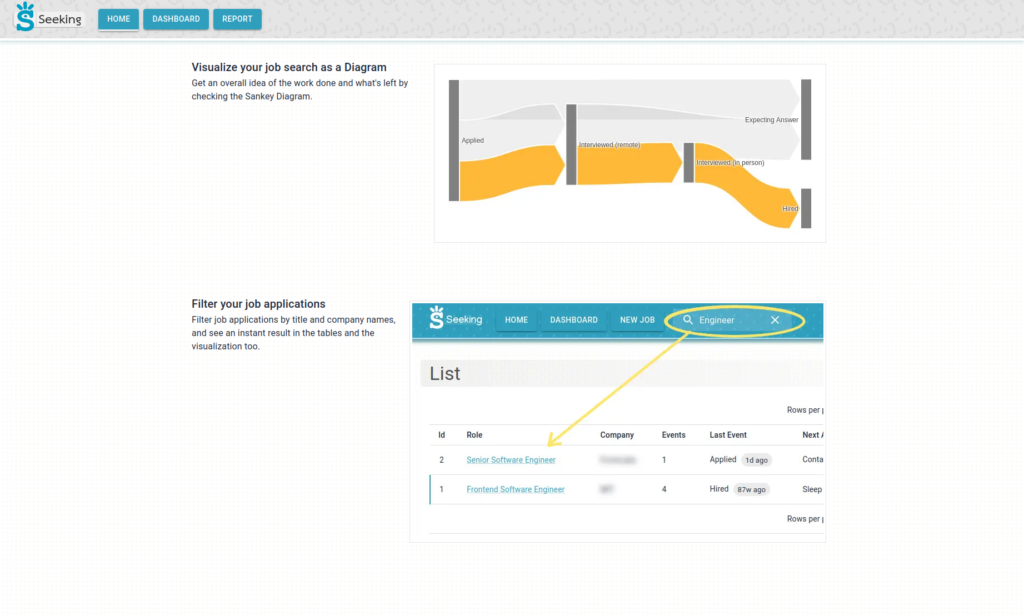
1.2.b) Features
This section highlights three important aspects of Seeking.
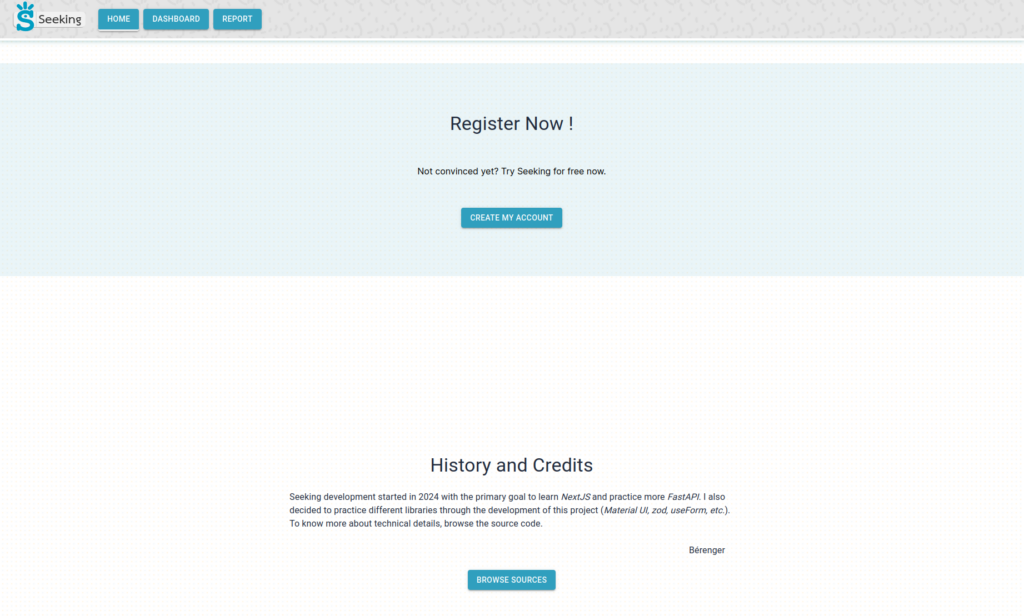
1.2.c) Register, History, and Credits
1.3) Dashboard
The dashboard is the heart of the web app, job applications can be viewed as a list and as a diagram.
💡 Selecting a row from the table will highlight the related edges on the diagram. The opposite is also true, selecting a job application by clicking on an edge will select it on the list.

When a job’s role is clicked (or ![]() pressed), the Job Editor opens in a drawer on the left side. Jobs can be edited via this form. You can see below the Job Editor, the Create Event dialog, and the Job Editor again with some Events attached.
pressed), the Job Editor opens in a drawer on the left side. Jobs can be edited via this form. You can see below the Job Editor, the Create Event dialog, and the Job Editor again with some Events attached.


Let’s focus now on the second part of the Dashboard: the visualization.
From a job’s timeline (all its events), we generate a Sankey diagram to view the current job search state as a whole.

🚧 more visualization will come such as:
- event type count curves
- statistics (interview result ratio, phone call result ratio, etc.)
- etc.
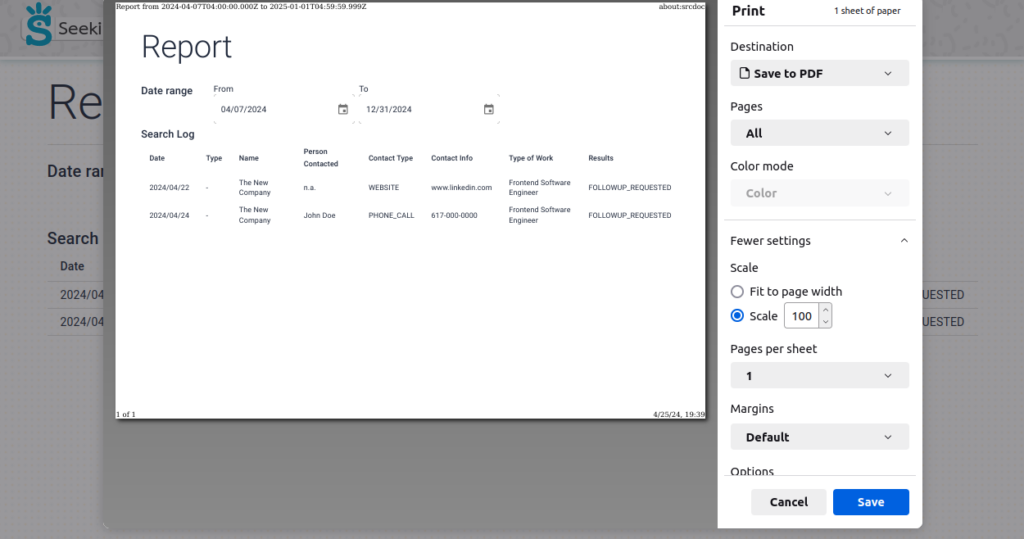
1.4) Report
This page allows to print a search log report from a given date interval.
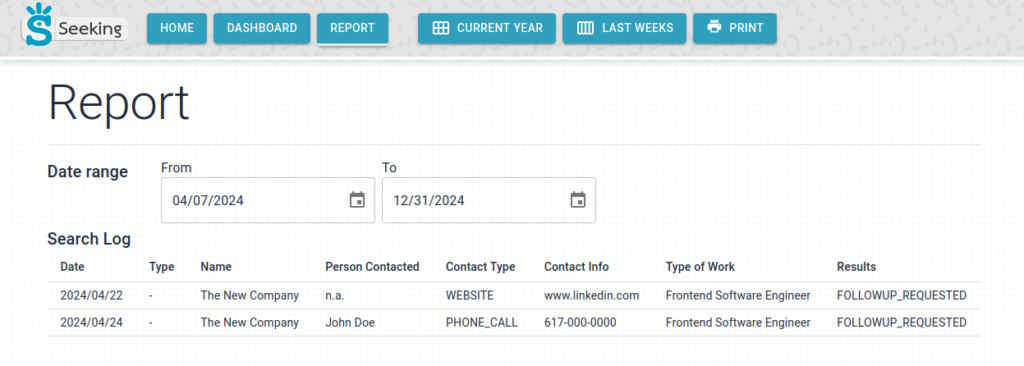
Some buttons specific to this page allows to quickly view the current year, the last weeks, and to print the report.

Pressing the print button generate a PDF that can be printed or saved.
2) Technical aspects
2.1) Frameworks
As mentioned in the introduction, the primary goal of this project was to practice FastAPI and Next.js more than to develop a job search application.
In addition, I picked the following libraries:
- material ui: for the components and their responsive capabilities
- react-hook-form: to handle easily form states
- zod: to declare types and validation schemes (works great with react-hook-form)
- openapi-typescript: to generate automatically typescript types for the API schemas.
- plotly.js and react-plotly: to generate the diagrams
2.2) Autogenerate webui’s schemas from OpenAPI specs
Manually redefining types for a web API on the client side is not very efficient (during refactors) or type-safe. This project generates them automatically (using openapi-typescript ) from the openapi.json specifications served by FastAPI. When a schema changes on the API, a few seconds only are required to see the impact on the client’s code and fix errors when needed.
# To run the schema generation, execute:
cd webui
npm run generate-schemas
This command updates the file webui/app/typings/openapi-autogenerated.d.ts
For example, this is the schema you get for JobCreate:
✋ There is currently no mechanism implemented to ensure webui and api are running using the same schema. That’s why an important check must be run each time the server meets with a new client. We could rely on the openapi.json‘s version, or compare a hash of the file.
2.3) Form state and data validation
Using zod and react-hook-form together is a good choice to ensure users will fulfill forms properly (avoids unnecessary api calls). From the autogenerated schemas (see section above) and zod‘s utilities, validation schemes were defined and passed to the useForm hook (react-hook-form‘s) to handle form state and validation.
Example:
This is how the schema JobCreate is imported from the auto-generated file:
import { components } from './openapi-autogenerated'

type JobCreate = components['schemas']['JobCreate']
JobCreate is reused when creating the zod validation schema. This way, we are certain the validation schema matches with the API.
/** Zod validation schema for an JobCreate object */
export const jobCreateSchema = z.object({
  role: z.string(),
  company: z.string(),
  url: z.string().optional().transform(emptyStrOrNullToUndefined),
  notes: z.string().optional().transform(emptyStrOrNullToUndefined).nullable()
}) satisfies z.ZodSchema<JobCreate>;

/** Static type inferred from eventCreateSchema */
export type JobCreateSchema = z.infer<typeof jobCreateSchema>
Eventually, we use the validation schema (and type) with the form hook (useUniForm wraps useForm) to make sure valid data is submitted.
const {
  register,
  handleSubmit,
  reset,
  formState: {
    errors,
    isDirty,
  }
} = useUniForm<JobCreateSchema>({
  schema: jobCreateSchema,
  initialValues: {
    role: "",
    company: "",
    notes: "",
    url: ""
  }
})
2.4) Deployment
🚧 The application is not publicly deployed yet and is not ready for it either. However, a docker-compose.yml has been prepared to make local deployment easy. More information on the github repository.
3) Conclusion
There’s still a lot to learn in both of these frameworks and libraries, but isn’t it said that it’s the journey is important?
Anyway, let me list a few positive aspects of each:
| Framework/Lib | Comment |
|---|---|
| Next.js | renders client/server side |
| FastAPI | generates automatically Open API specifications |
| Material UI | global theme very useful (and powerful), responsive attributes are convenient |
| zod | types can be inferred from validation schemas |
| react-hook-form | simpler to use than formik, I won’t switch back |
Source code: https://github.com/berdal84/seeking
Thanks for your attention. Bérenger.
- work in progress, will generate a report of all job search events in a time interval. ↩︎
