Collaboration with Marcela Garita Hernandez (Senior Research Fellow at Mass Eye and Ear, Harvard Medical School) on a small Java plugin for the software Fiji (known as ImageJ, a scientific image manipulation program).
The object of this collaboration was to write a piece of code to read microscope images, to transform and to save them in batch (to process multiple files in background).


What does Mageek do ?
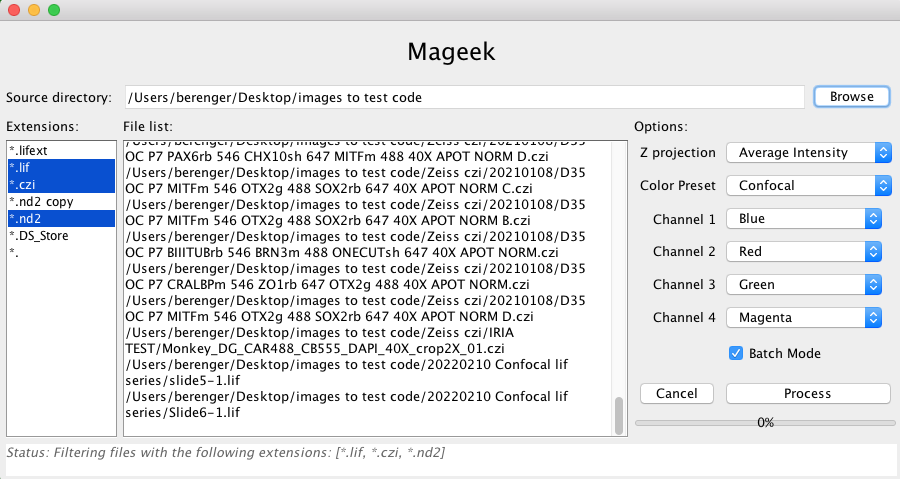
Mageek allows the user to browse a source folder and find all images to process. Once Mageek scanned the source folder (and subfolders recursively) it shows a list of extensions (left side bar) and files path (center). The user can decide to process only specific extensions by selecting them in the list. When extensions are selected/unselected the file list in the center is updated in consequence by Mageek. A global projection method and a color (a LUT per channel) must be selected too. Once ready, the user can launch the process.
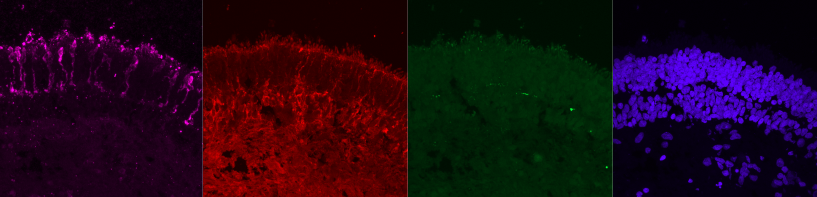
Then, during the process Mageek opens each image (eventually each series in that image) and split each channels. Once split, each slices are combined (or projected) using a method. At this step we have a grey per channel. Each channel is then colorized (apply LUT) and saved to a *.tiff.
Each picture you see Fig. 2bis represents a different channel processed in a different color, and each of them correspond to a fluorescent marker response to the laser sent by the microscope.
Here the user choose Magenta, Red, Green and Blue LUT.
Those transformations are simple from a user point of view because they can be done manually using ImageJ. But Mageek solved the problem of scalability – at least in a relative way – since this plugin can process a large number of files making the user free to do something else while the images are processed.
How to use Mageek ?
To use Mageek, just browse our github repository and follow the instructions.

Technically
The plugin is written in Java and use mainly imagej and bio-formats packages. The GUI has been created using Netbeans form editor. If you want to look at the details, feel free to browse the source code.
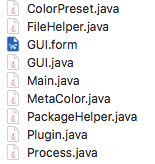
com.berdal84.mageek package content
Future improvements
Mageek has already saved a lot of time to M. Garita H and we can say writing this piece of code was a good move, but we can enumerate some possible improvements:
- Preview the process with a file selected from the scanned file list,
- Use am ImageJ plugin to count the cells on images,
- Add extra information to the images such as size scale or fluorescence scale.
History
Before to be written in Java, Mageek was an ImageJ Macro (first release Jan 14, 2021), more information here.
Why I decided to switch from ImageJ Macro to Java ? Because I needed to have type safety, to build dynamic UI and to have access to the full ImageJ API. Another important aspect is the possibility to write unit tests and end to end tests easily.
Bibliography
- Image Processing with ImageJ – Second Edition 2nd Edition – by Jurjen Broeke (Author), Jose Maria Mateos Perez (Author), Javier Pascau (Author)
- ImageJ official website: https://imagej.net/
- How to make a Fiji plugin ? https://www.youtube.com/watch?v=YIWpoBnnLio (unknown author)
- Bio-Formats documentation : https://www.openmicroscopy.org/bio-formats/